How to Install IP Cameras: A Step-by-Step Guide
IP cameras are a modern and efficient way to enhance security for homes, offices, and commercial spaces. Unlike analog CCTV cameras, IP cameras connect to a network and provide high-resolution video surveillance. In this guide, we’ll walk you through the process of installing IP cameras effectively.
Tools and Equipment Required
Before beginning the installation, gather the following equipment:
- IP Camera(s)
- Network Video Recorder (NVR) (if applicable)
- Ethernet cables (Cat5e or Cat6)
- Power Supply or PoE (Power over Ethernet) switch
- Drill and mounting screws
- Monitor and mouse (for configuration)
- Router and internet connection
Step 1: Plan the Camera Placement
Proper positioning is crucial for effective surveillance. Identify key locations such as:
- Entry and exit points
- Hallways and staircases
- Driveways and parking areas
- Business cash counters or server rooms Ensure the camera covers a wide field of view with minimal obstructions.
Step 2: Mount the IP Camera
- Mark the desired mounting location.
- Drill holes and insert wall anchors.
- Secure the camera with screws and adjust the angle for optimal coverage.
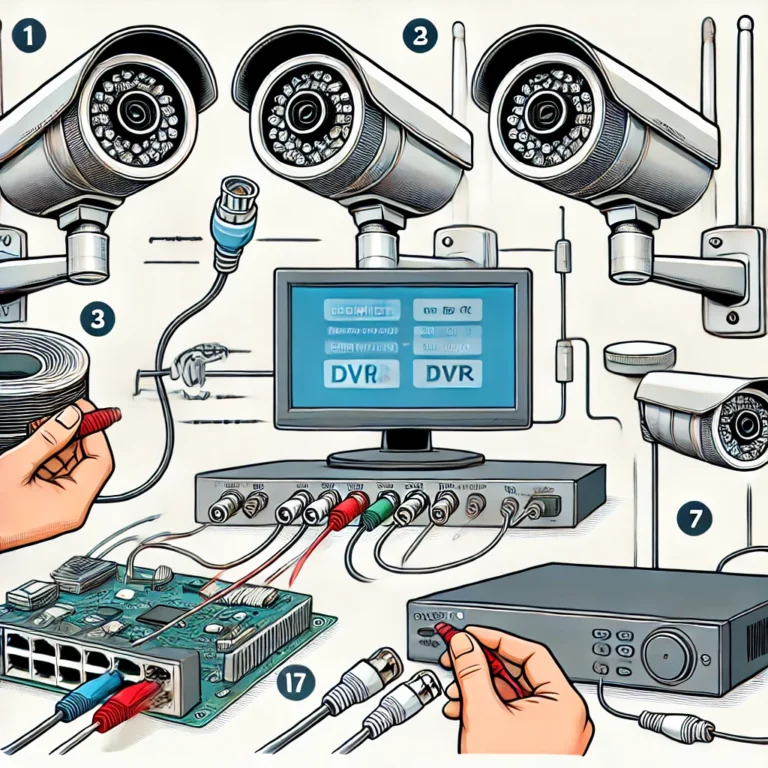
Step 3: Connect the Camera to the Network
There are two primary ways to connect IP cameras:
- Using PoE (Power over Ethernet): Connect the camera to a PoE switch or PoE-enabled NVR using an Ethernet cable. This supplies both power and data.
- Using a Power Adapter: If the camera doesn’t support PoE, use a separate power adapter while connecting the camera to the router via Ethernet.
Step 4: Configure the Camera
- Connect the NVR or computer to the same network as the camera.
- Access the camera’s settings through a web browser using its IP address.
- Set up a unique username and password for security.
- Configure the recording settings, motion detection, and video quality as required.
Step 5: Test the System
- Check the live feed from the camera via the NVR or computer.
- Adjust the camera angle for the best coverage.
- Test night vision, motion detection, and alerts.
Step 6: Secure and Maintain the System
- Hide or secure all cables to prevent tampering.
- Regularly update firmware for security patches.
- Periodically clean the camera lens for a clear view.
- Store footage on an NVR, cloud storage, or SD card as needed.
Final Thoughts
Installing IP cameras enhances security with remote access, high-definition footage, and smart features. By following these steps, you can ensure a smooth setup and reliable surveillance for your property. If you need professional installation or high-quality IP camera solutions, visit Securityvala.com for expert assistance.
For more security insights and solutions, stay tuned to our blog!